Printing via Laptop (macOS) to Lab Printers
PaperCut Client Installation
1 Add the PaperCut Client to your laptop computer
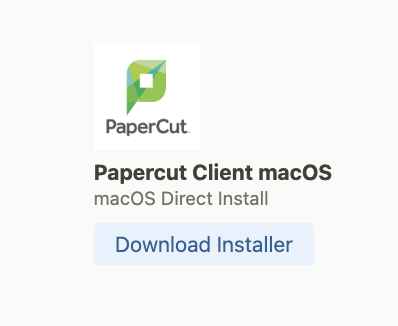
Click 'Download Installer' under the PaperCut Client macOS from the CCA AppsAnywhere dashboard: CCA AppsAnywhere
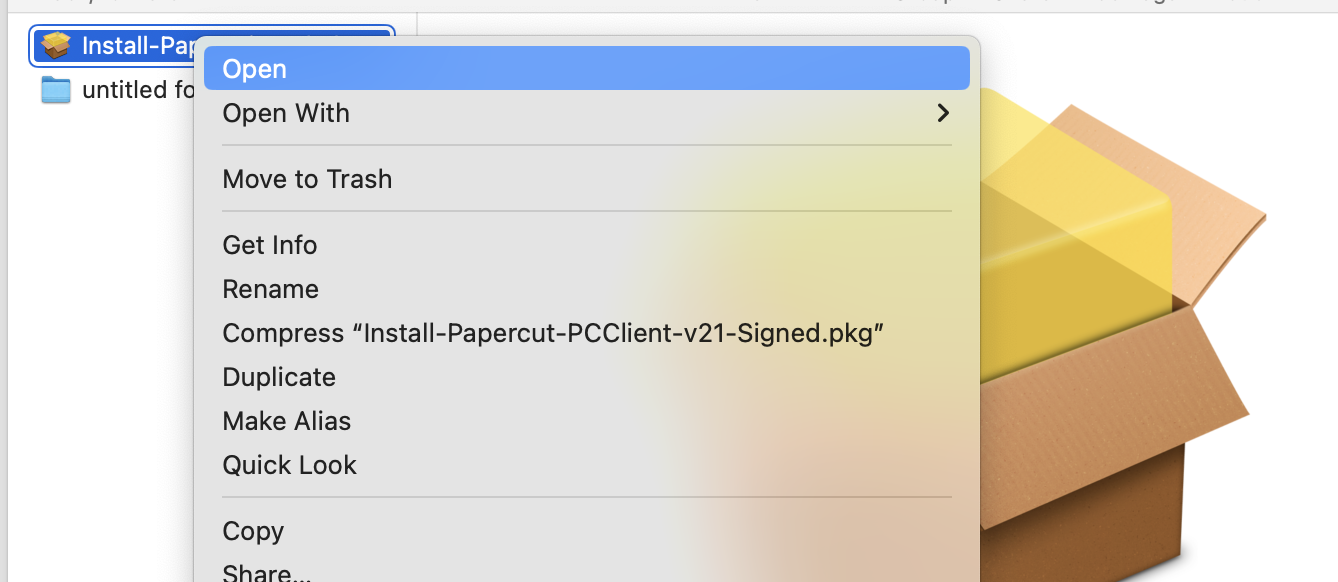
2 Locate installer in Downloads folder
Hold control key while clicking on installer, select Open
3 At 'Install-Papercut-PCClient-v21-Signed.pkg" window
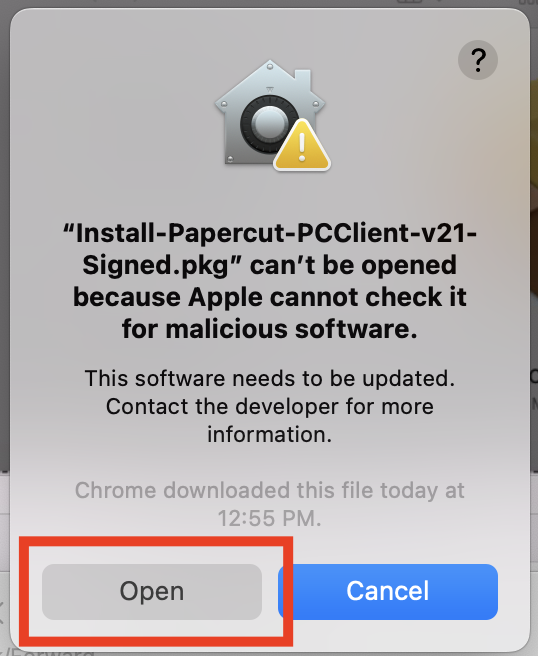
Click Open
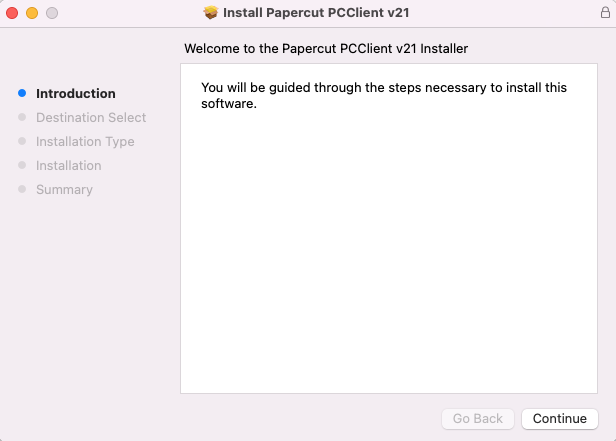
4 At the "Install Papercut PCClient v21"
Click continue and following the onscreen instructions to install Papercut
Laptop Printing to Lab Printers Instructions
1 Launch PaperCut and login with your CCA credentials, click 'OK'

2 From your document go to: File > Print
From 'Nearby Printers' select a printer from drop-down list, then click 'Print'

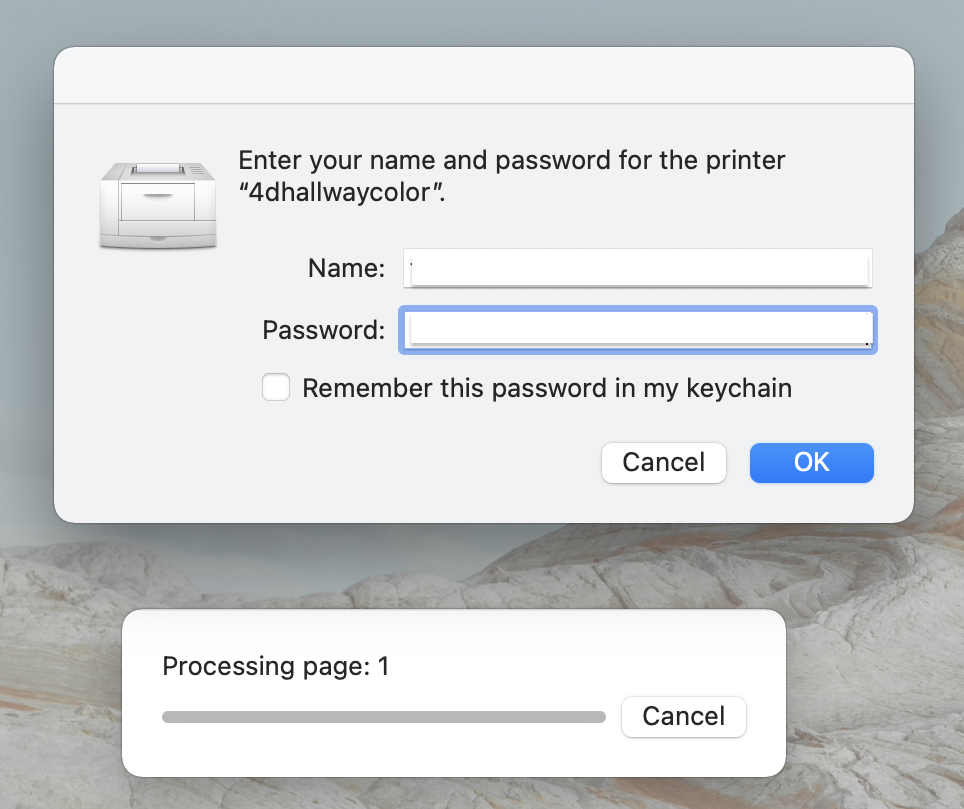
3 Enter your CCA credentials at printer window, click 'OK'
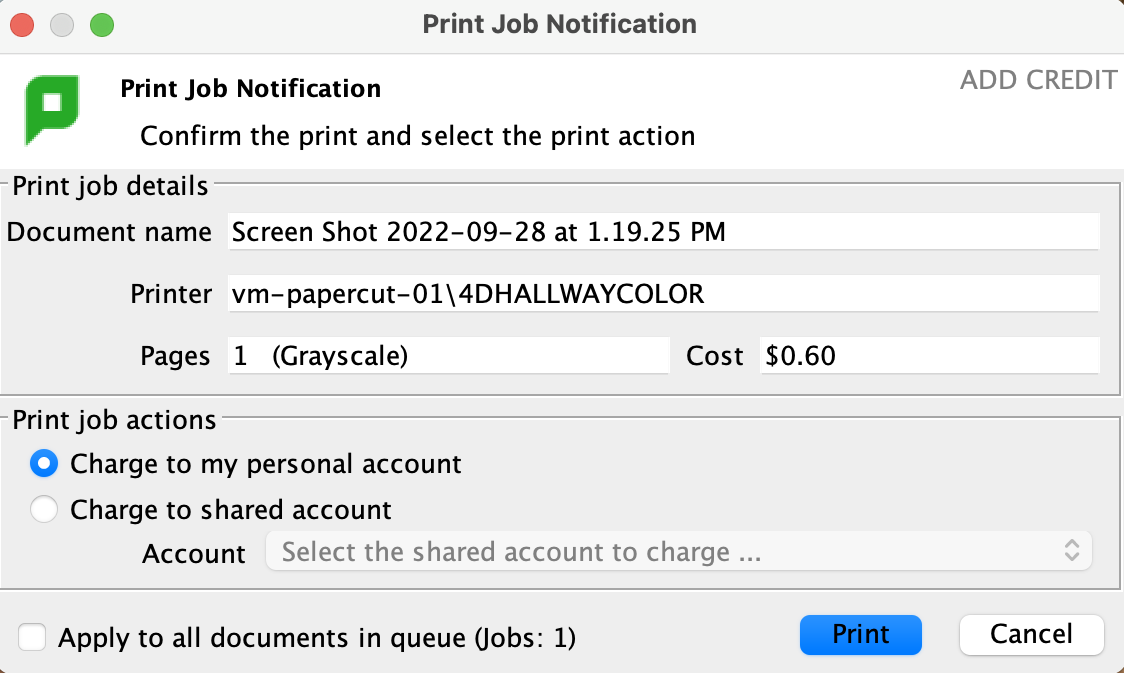
5 PaperCut will ask you to confirm the price of your print job and selected printer
Confirm by clicking 'Print' then file will be sent to the printer